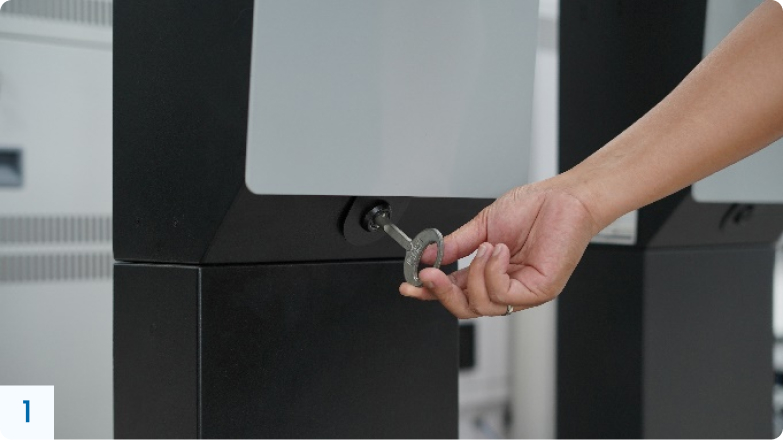
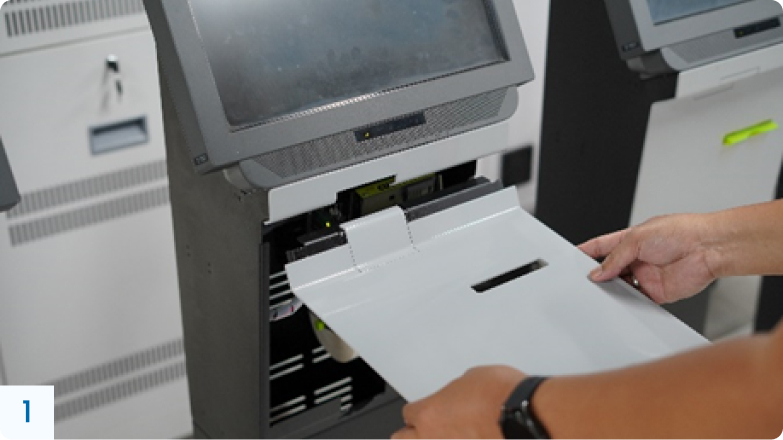
Using the provided key, open the front panel cover. Be careful of dropping the heavy cover; hold firmly with both hands. Place the cover on a clear and stable surface.
Step
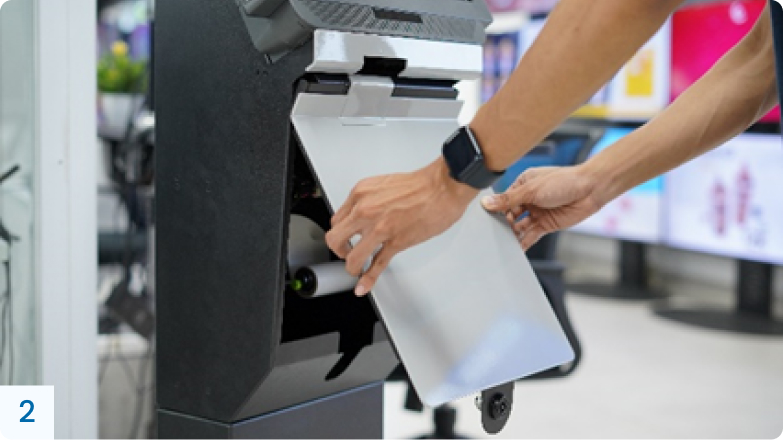
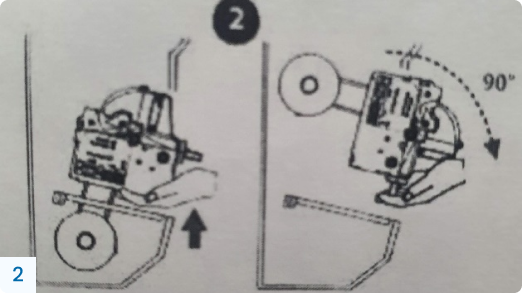
Lift the printer upwards and pull it down towards you at a 90-degree angle.
Step
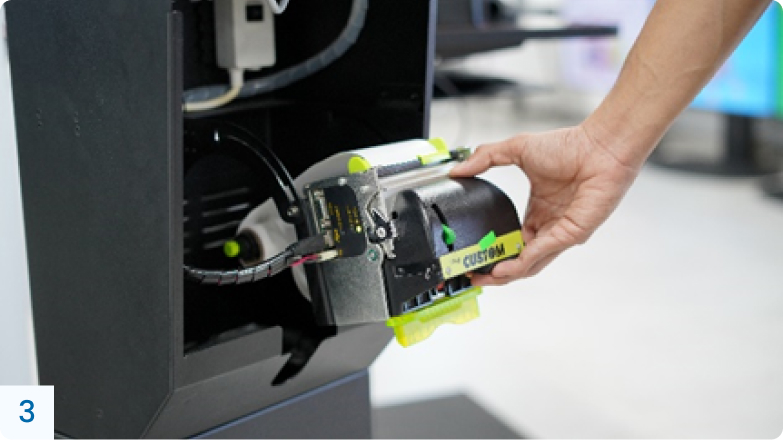
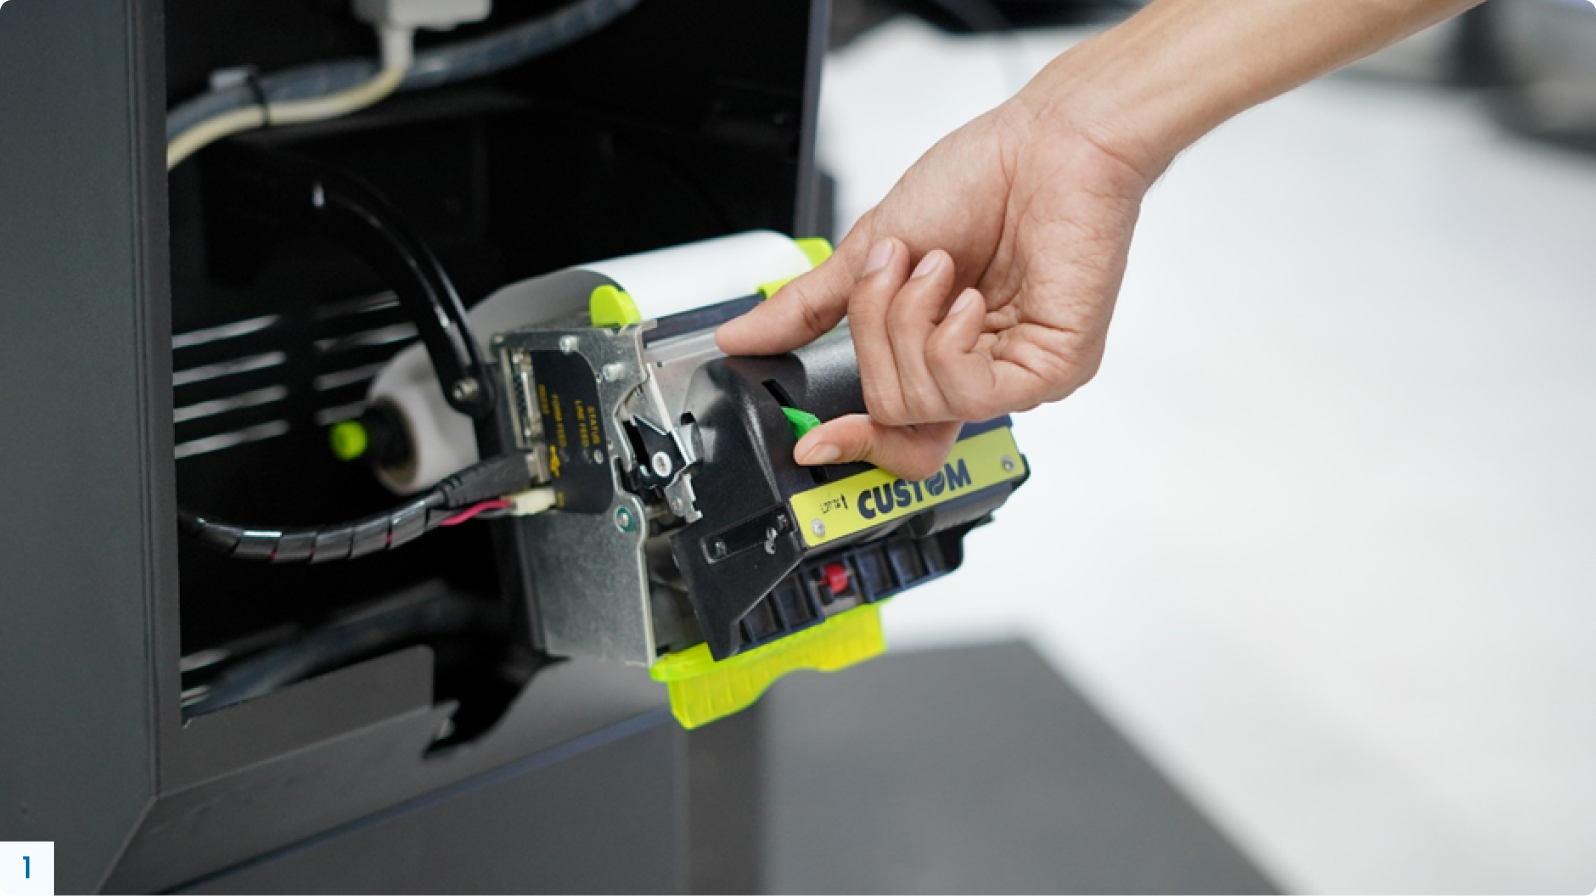
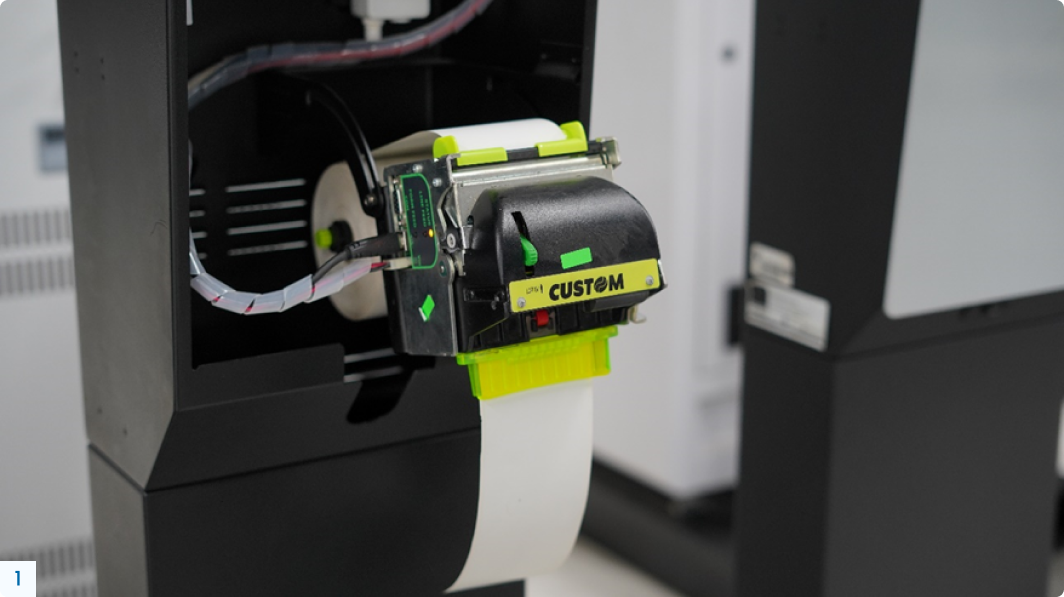
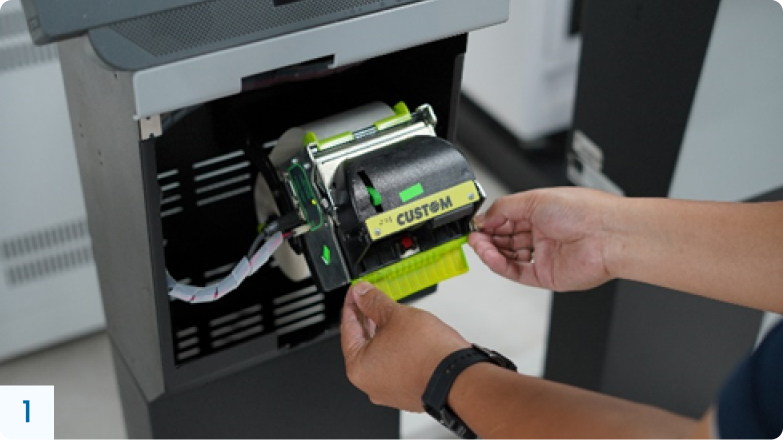
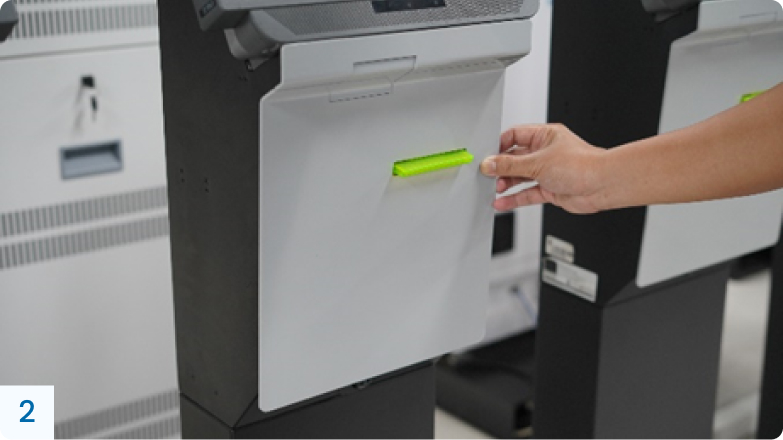
Pull the green lever backwards and lift the head/cutter unit until it locks into the correct position
Step
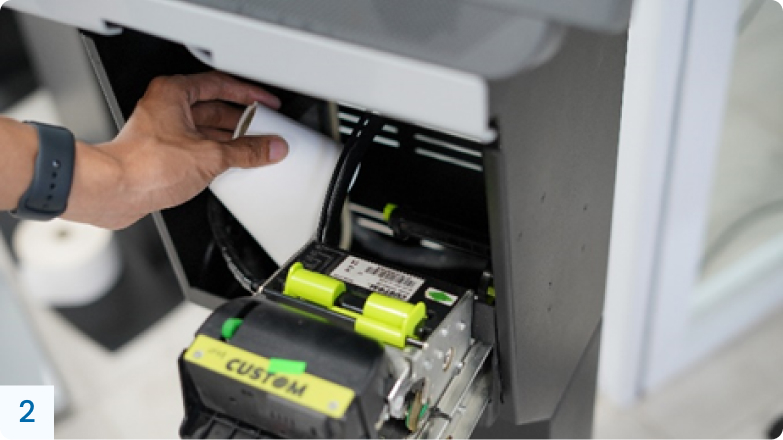
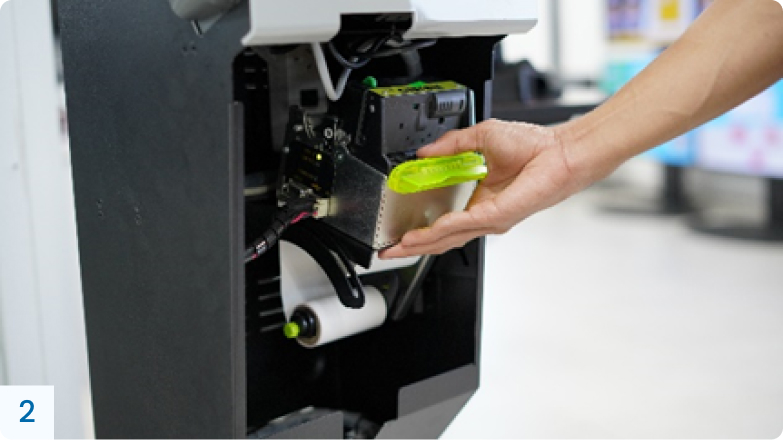
Take the paper roll out and dispense any paper scraps inside the printer and around the out-feed and in-feed slots
Step
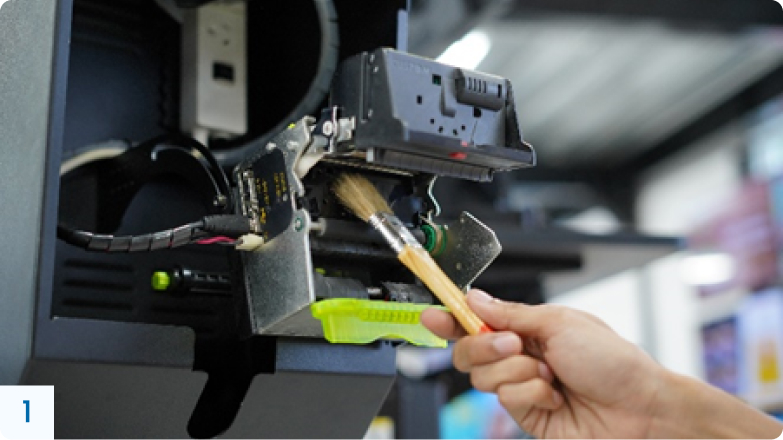
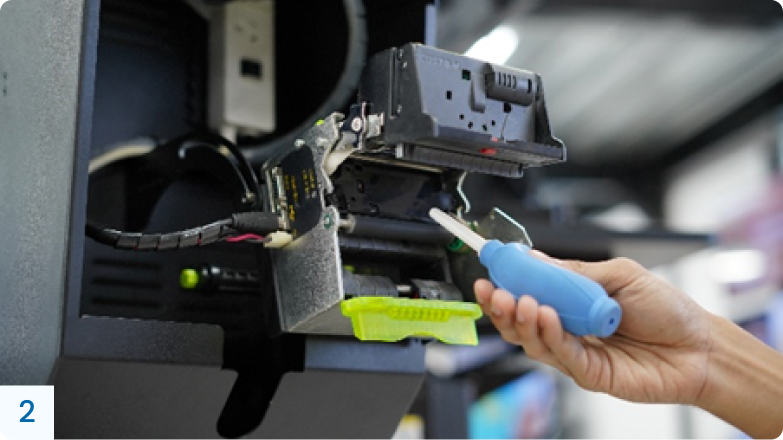
To prevent paper jams, use a soft brush or an air blower to clean paper scraps and paper dust from the cutter and rollers of the in-feed and out-feed slots of the paper
Step
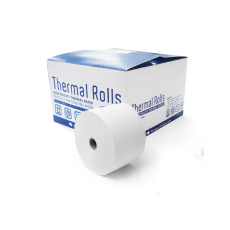
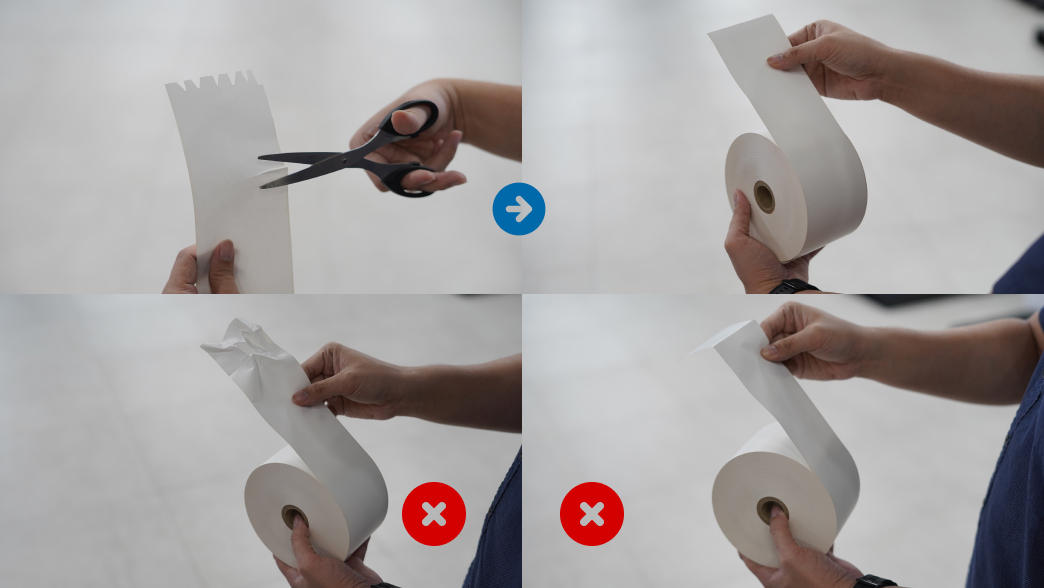
Ensure the top of the new paper roll is straight. If not, cut the top straight before feeding it into the printer.
Step
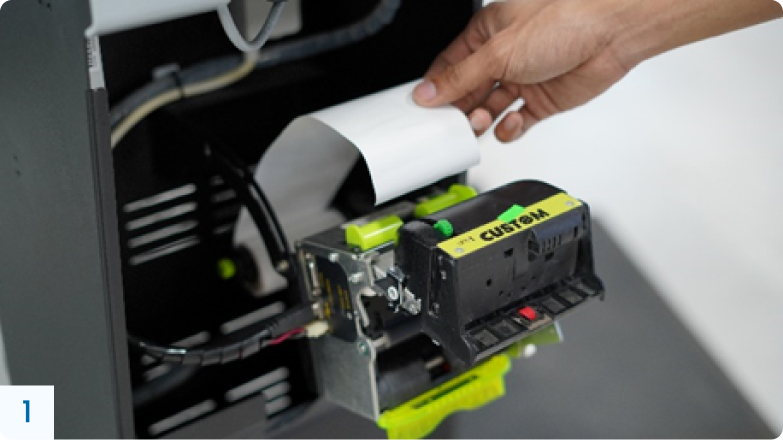
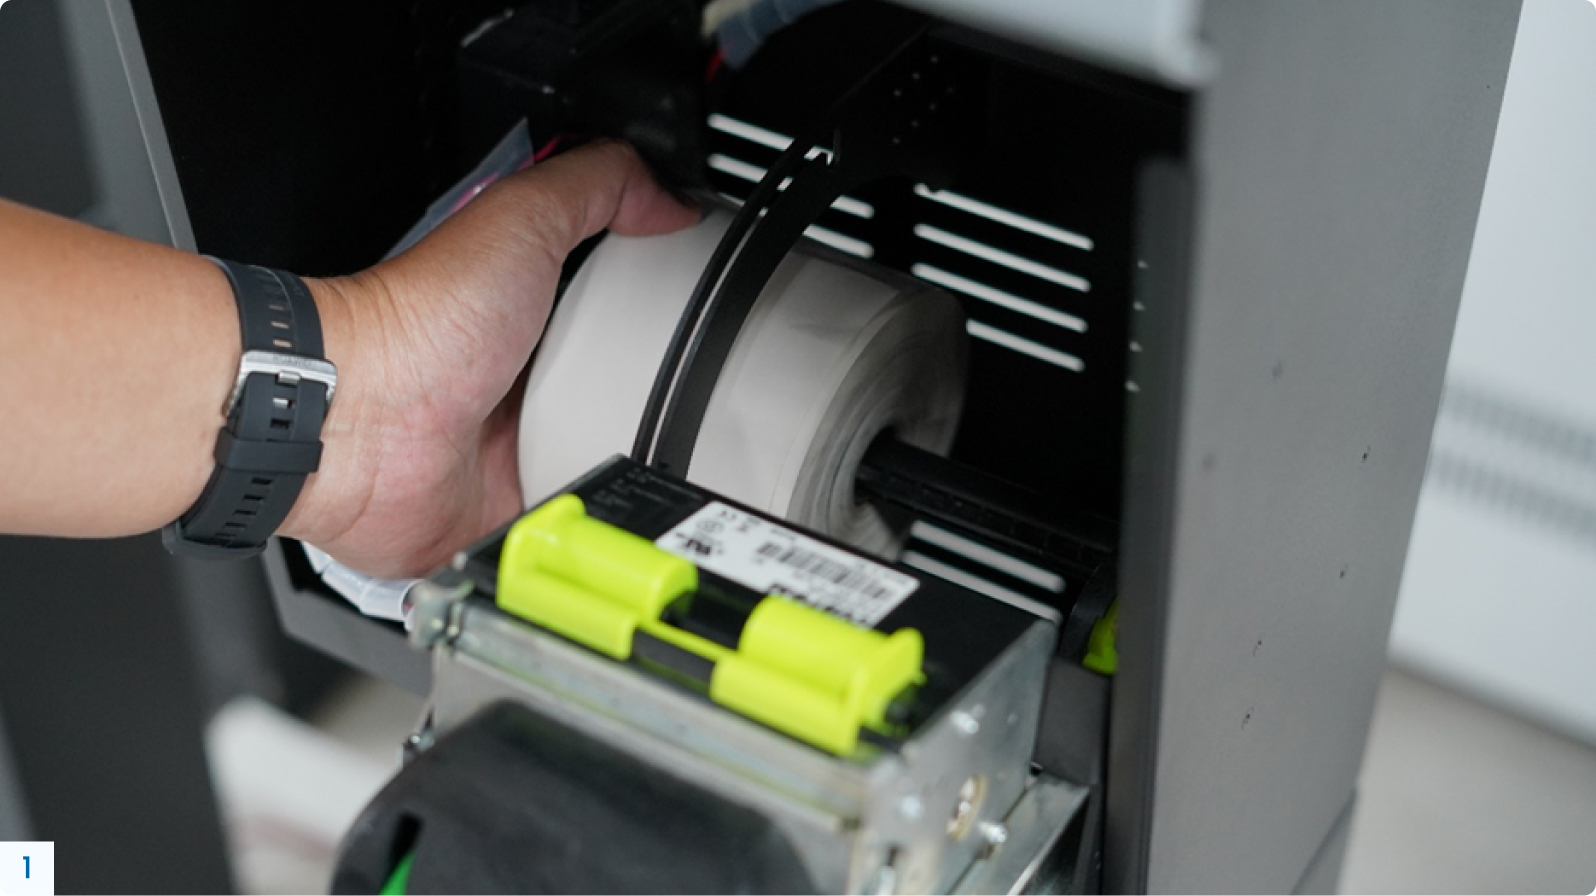
Insert the new paper roll onto the paper holder; the tip of the paper must feed out from the upper side of the roll.
Step
Close back the head/cutter unit and make sure it locks properly into its original position (as how it was before Step 3 was performed)
Step
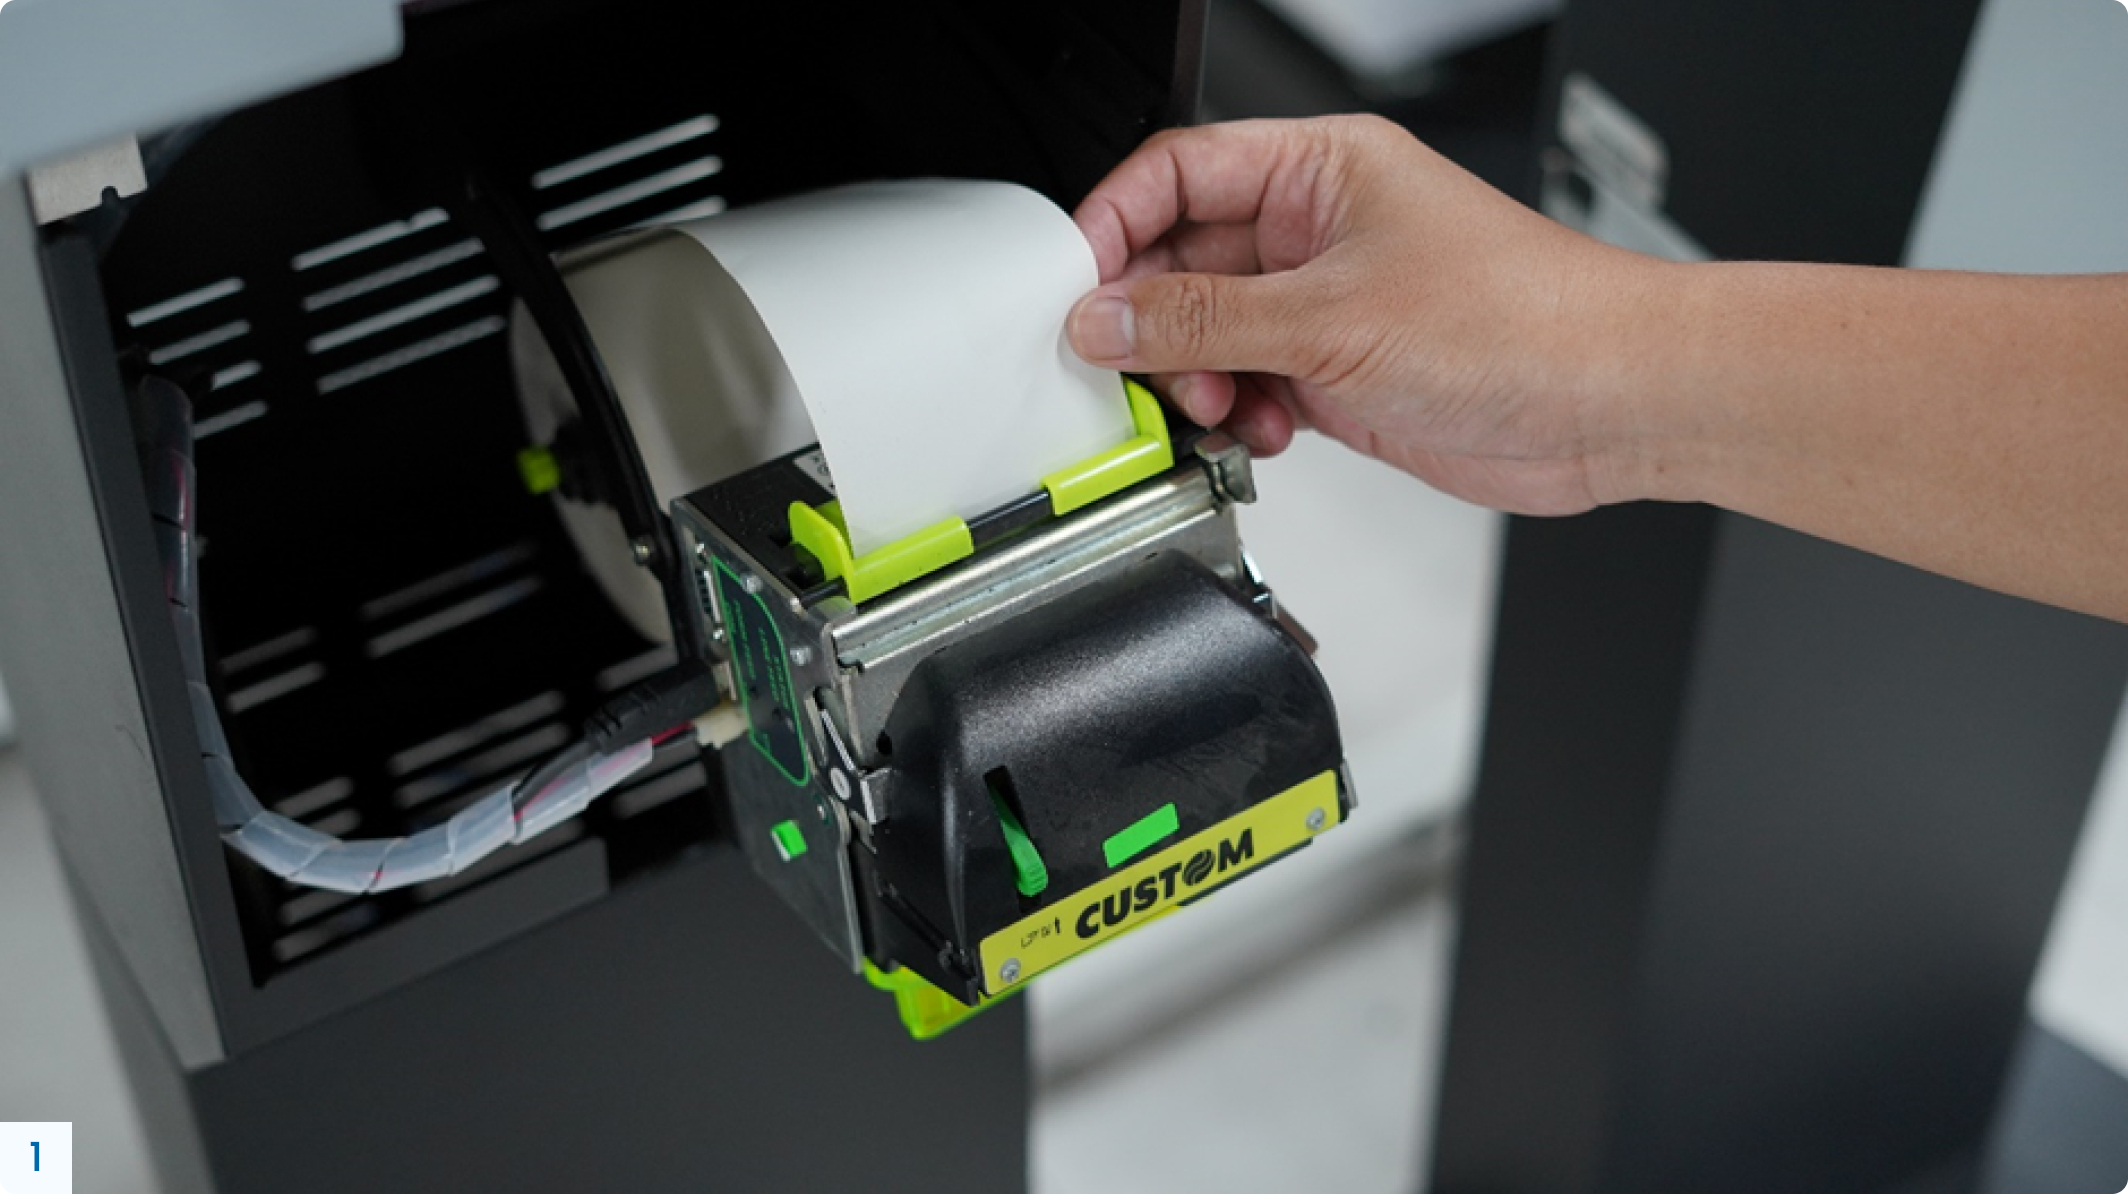
Pull the paper tip and insert it into the in-feed slot of the printer. Make sure the paper is pulled straightly and not loosely from the roll.
Step
Wait for the paper to load automatically into the printer. The blinking out-feed slot indicates the paper has been successfully cut, which means the printer has worked properly
Step
Lift the printer back to its original position and make sure it locks properly
Step
Close the front panel cover and lock it using the provided key. Be careful of dropping the heavy cover; hold it firmly with both hands.